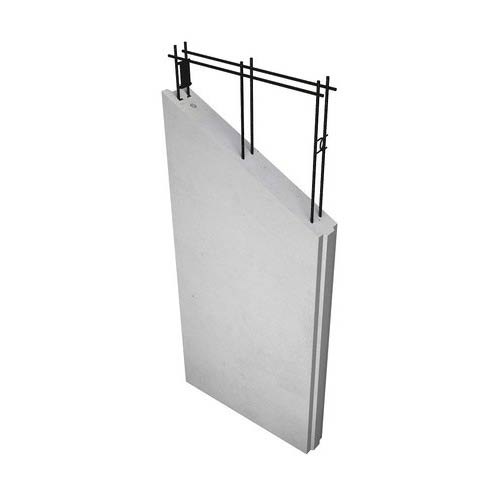
Lightweight, steel-reinforced autoclaved aerated concrete panels are known as reinforced AAC panels. These panels are best suited to today’s design problems for enhanced energy efficiency, fire safety, sound transmission, insulating characteristics, and increased seismic safety. They are ideal for both external and internal non load bearing walls.
Application Area
Commercial
Residential
Hospitality
Industrial
Healthcare
Institutional
Warehouses
Technical Specification
PARAMETERS
AAC PANELS
Besic raw Meterial and Other inputs
Cement, Lime, Fine Dilica sand & Autoclaved
Dry Density
550-650 kg/m3
Compressive strength
40 kg/cm2
Size
600x3000x75mm, 600x3000x90mm, 600x3000x100mm
Weight
55kg/m2(75 mm), 70 kg/m2 (100mm)
Fire Resistance
4 Hrs (for 100mm wall)
Thermal Conductivity (W/K-m)
0.115
Moduls of Elasticity
2190 Mpa
Sound Reduction Index (dB)
40
Cost Comparison
Meterials
Bricks
AAC Blocks
AAC Wall Panels 100 mm
AAC Wall Panels 75 mm
Cost Per Sq. FT (In INR)
Cost Per Sq. FT (In INR)
Bricks
40
-
-
-
AAC Blocks
-
30
-
-
AAC Panels
-
-
95
75
Mortar
8
5
-
-
Coping / Bond Beam
-
7
-
-
Plaster
60
60
-
-
Labour Cost
35
30
20-25
20-25
Accessory Cost
-
-
5-10
5-10
Total
143
127
125
105
Installation Guidelines
Ensure the floor and ceiling are free of dust before making the line by chalk.
Before moving to the marked point, clean the Reinforced AAC Panel.
Drill an 8 mm hole of depth 40mm at the marked points in the column and insert measured pre-cut steel reinforcement bars into these holes.
Make thin-bed mortar slurry and apply it on column structure to increase adhesion between the Reinforced AAC panel and the structure.
Lift the wall panel and push it to attach with the column.
Use the lever to lift the Reinforced AAC panel until the top of the panel reaches the roof, then insert a wooden wedge under the panel.
Use GI L-clamp to fasten the panel with the floors and the roof with the help of fasteners.
Apply thin-bed mortar on the side of the first panel then lift the next Reinforced AAC panel to attach and do the same as the previous steps.
Continue to install wall panels until the gap can be closed by the lastReinforced AAC panel.
Insert Backer Rod in the gap between beam / top slab and top of Wall Panel.
Rub with sandpaper for smooth finish and removal of excess thin-bed mortar.
Apply Glass Fiber tape on the joints between panels and cover it with polymer-based putty.
Fill the gap if any between beam / top slab and top of Wall Panel by PU Foam and remove excess of it.
Fill the gap under the panels and in between the panels with a sand-cement mortar and allow it to dry.
Finish MagicLite AAC wall panel installation by application of Putty and Paint.